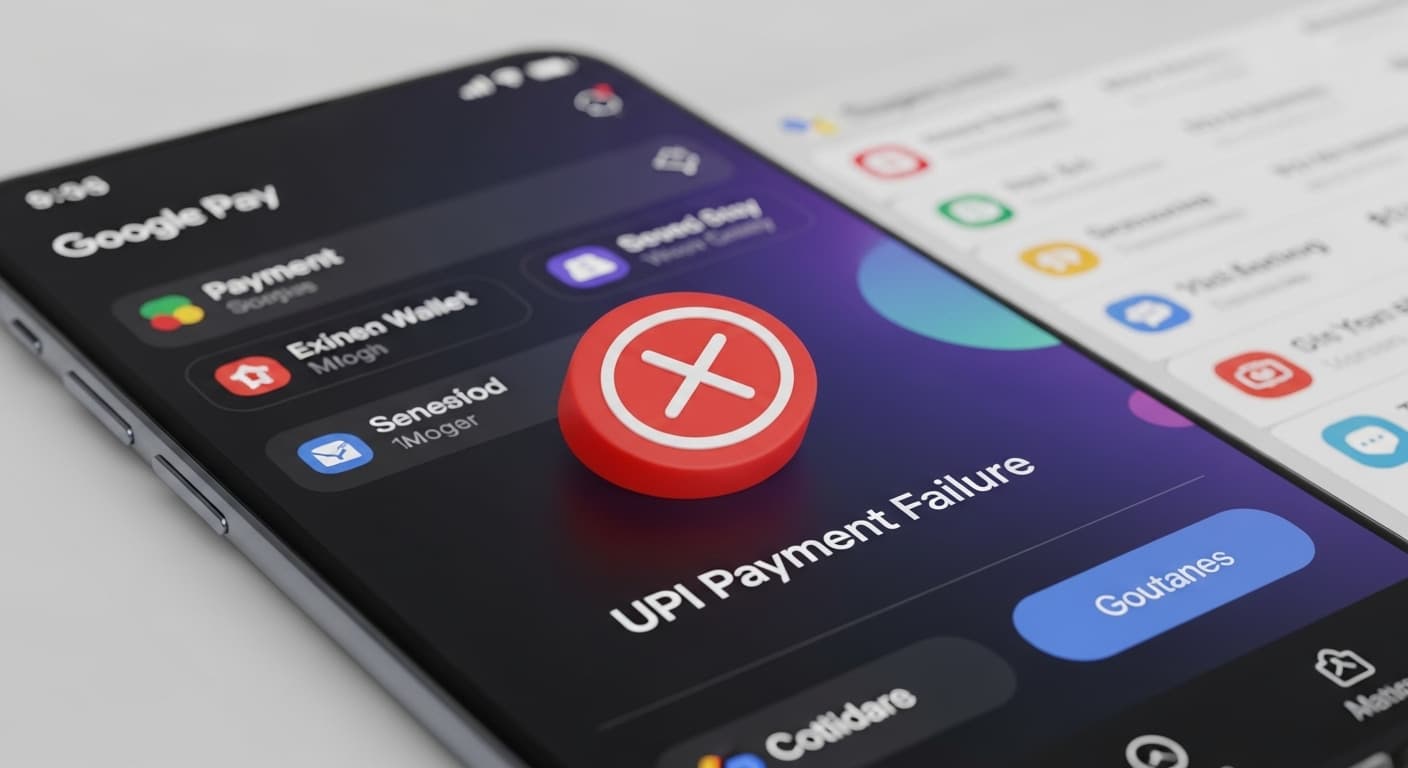
UPI Payment Failure
UPI Payment Failure: Transaction Not Completed
Quick Fix
Open Google Pay, tap Settings → Payment methods, remove and re‑add your bank card, then retry the transaction.
What it Means
UPI Payment Failure means the transaction did not reach the bank server or was rejected. The app shows this when it can’t confirm the transfer, often due to network, PIN, or bank‑side issues.
Possible Causes
- 1Unstable internet or Wi‑Fi drops
- 2Incorrect UPI PIN entered
- 3Bank server downtime or maintenance
- 4Insufficient balance or blocked account
- 5Outdated Google Pay app
- 6App cache corruption
How to Fix
Step-by-Step Solutions
- Check Internet Connectivity
Open a browser or another app to confirm you can access the internet. A weak signal often causes UPI failures.
- Verify UPI PIN
Ensure you’re using the correct 4‑digit PIN. If you’re unsure, reset it via your bank’s app or website.
- Update Google Pay
Go to Play Store → My apps & games → Update Google Pay. New releases fix bugs that cause payment failures.
- Clear App Cache
Settings → Apps → Google Pay → Storage → Clear Cache. This removes corrupted temporary files.
adb shell pm clear com.google.android.apps.nbu.paisa.user - Restart Your Phone
A quick reboot clears background processes that might interfere with UPI transactions.
- Check Bank Status
Visit your bank’s website or call customer support to see if there’s a known outage.
Commands You Can Try
Technical Details
Related Errors
Still stuck?
Pro tips
- Use a stable Wi‑Fi connection instead of mobile data when making large UPI payments
- Keep Google Pay and your bank app updated simultaneously
- Try a different bank account if the problem persists
- Enable auto‑pay only for trusted merchants
If the error keeps showing after trying all fixes, contact Google Pay support or your bank’s customer service for a deeper investigation.
If these solutions didn't help, try searching our database for similar issues.
Contact Support